Create a whitelist
Overview
- Create lists of addresses you can then link to accounts.
- A list can contain up to 300 addresses .
- Whitelists can only be edited in batches of 90 addresses. If you need to create a whitelist with more than 90 addresses, you must add these by batches of 90 addresses maximum at a time.
Before you start
- Your Personal Security Device must be connected to your computer, switched on, and the Ledger Vault app opened.
Instructions
Step 1. Name the whitelist
- Click Whitelist on the left panel.
- Click + New whitelist in the top right corner.

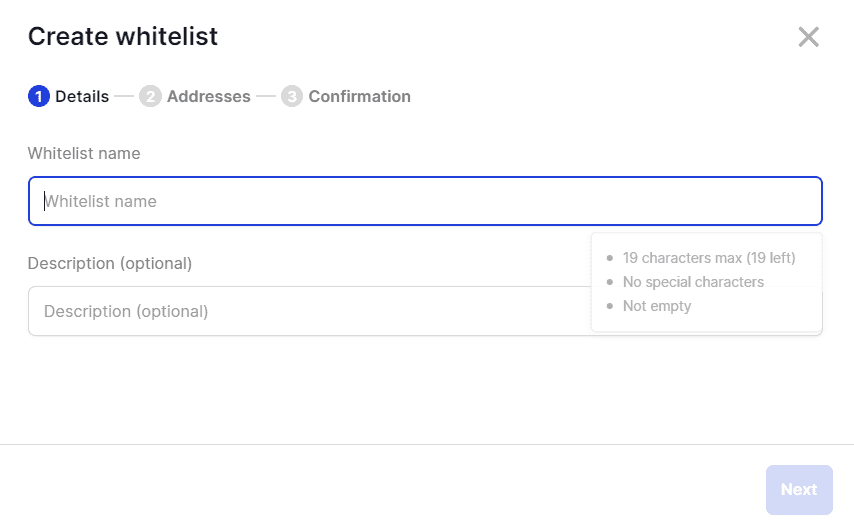
- Enter the Whitelist name .
- Select the Whitelist type .
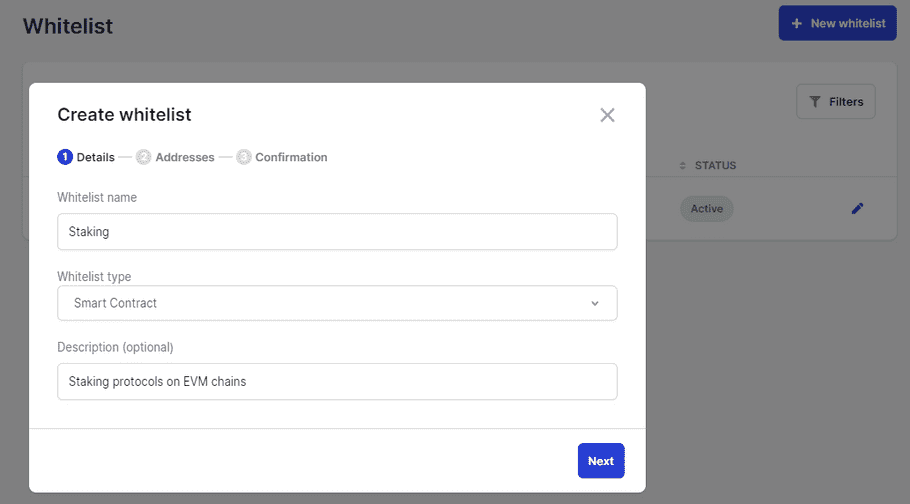
- Provide a Description (optional).
- Click Next .
Step 2. Enter addresses (Transaction type Whitelists)
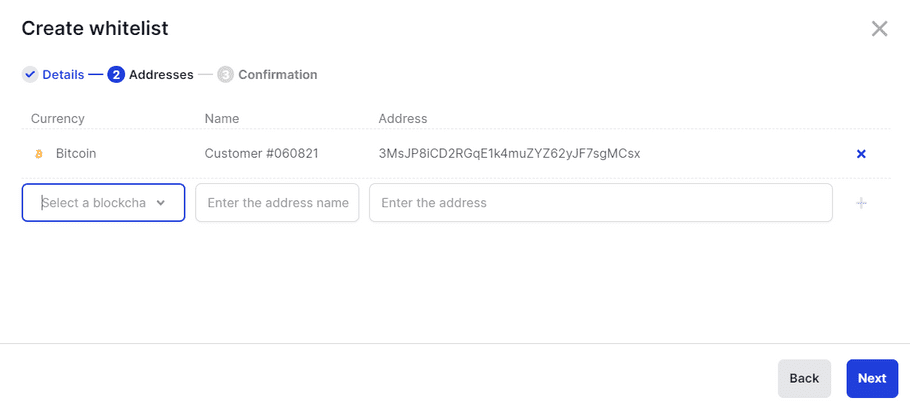
- Select a blockchain from the Currency drop-down list.
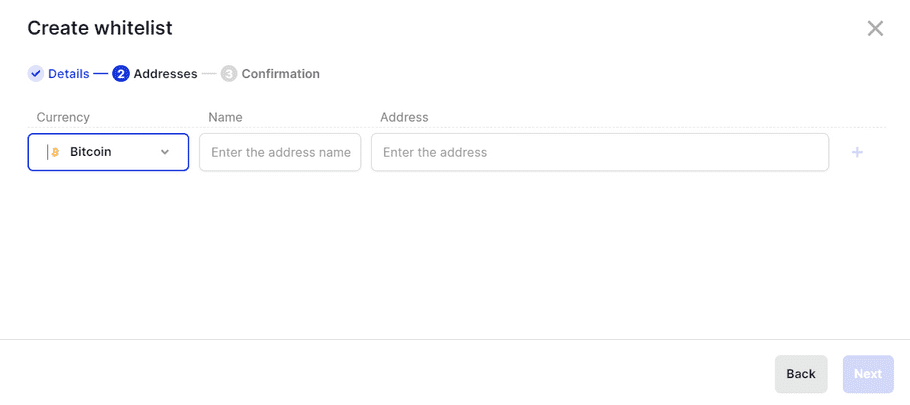
- Enter the Name of the address. It must be less than 45 characters long and must not contain special characters.
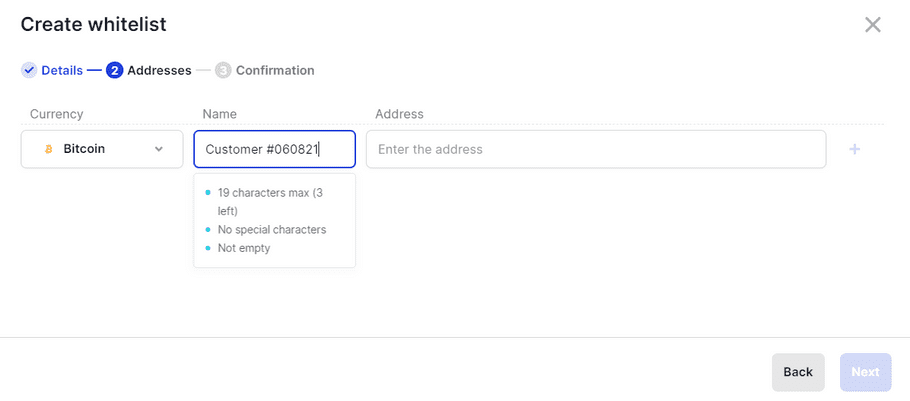
- Enter the public Address , then click the + icon to add it to the list.
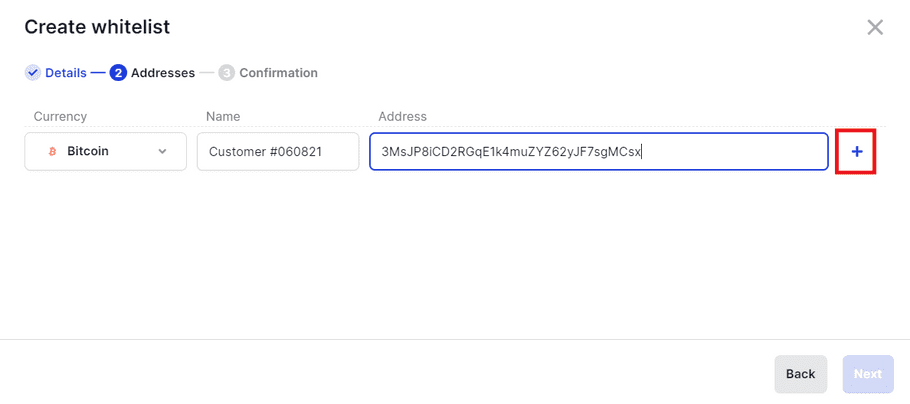
- Repeat the above steps for each address you want to add.
- Click Next .
Step 2. Enter addresses (Smart Contract type Whitelists)
- Select a blockchain from the Currency drop-down list.
- Enter the Name of the address. It must be less than 45 characters long and must not contain special characters.
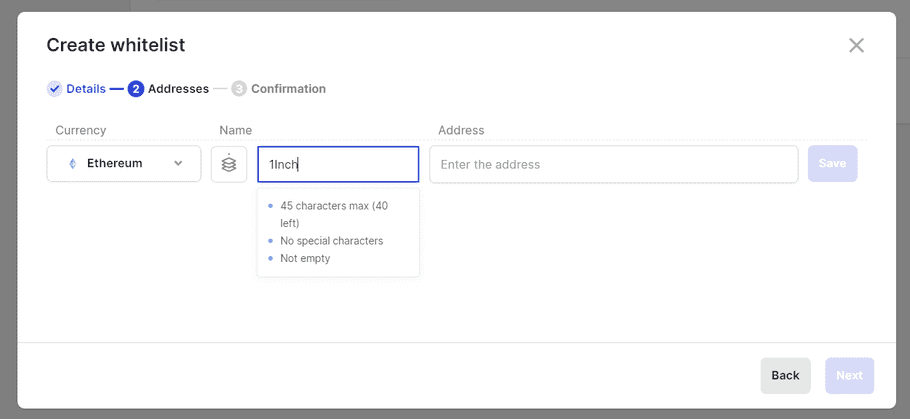
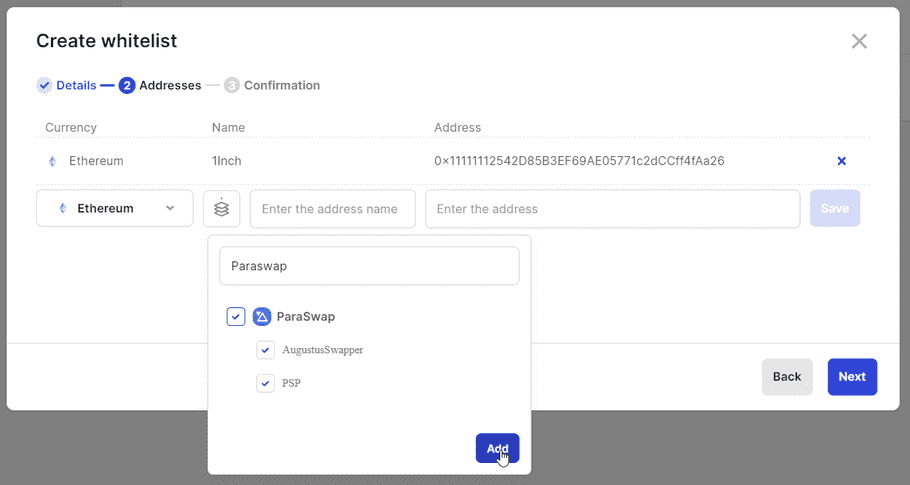
- Enter the public Address , then click the Save icon to add it to the list.
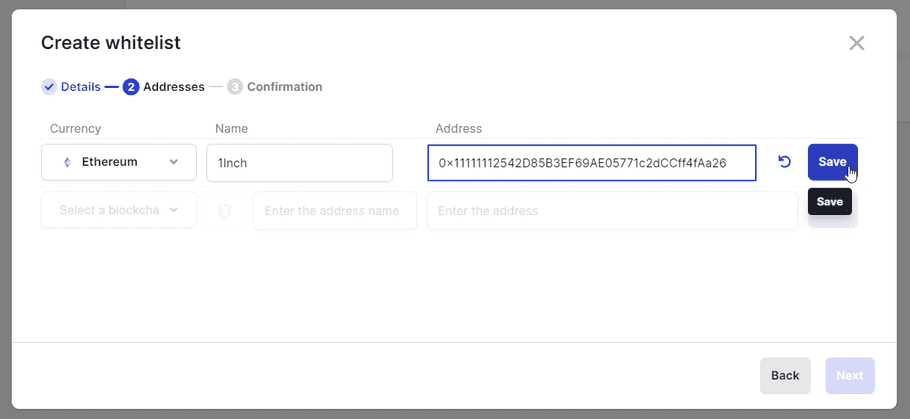
- Alternatively, you can easily whitelist Ledger Enterprise Clear Signed contracts by clicking on the icon, and selecting the contracts you want to add in the dropdown. Note that you filter contracts by name for better visibility.
- Click Next .

Step 3. Confirm the whitelist creation on your device
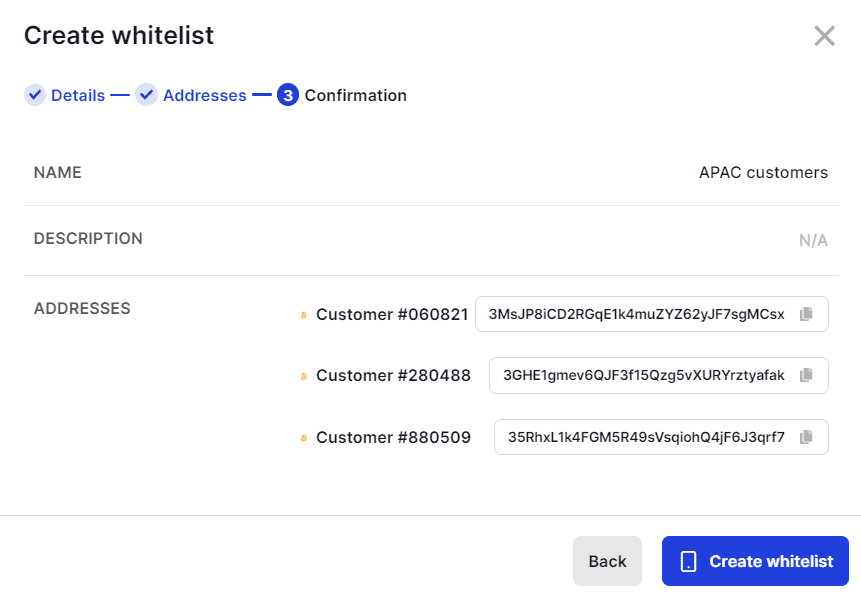
- Click Create whitelist .
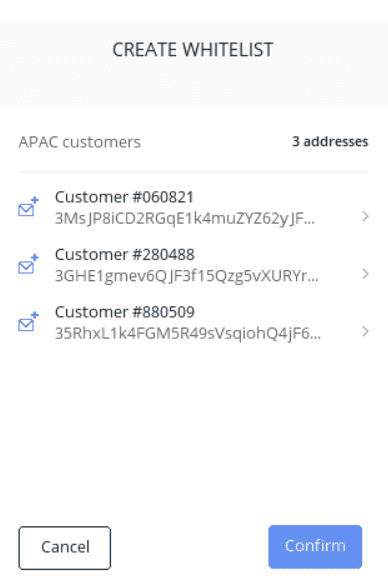
- Verify that the information displayed on your device is accurate. If it's not, either try again or contact Support .
- Tap Confirm .
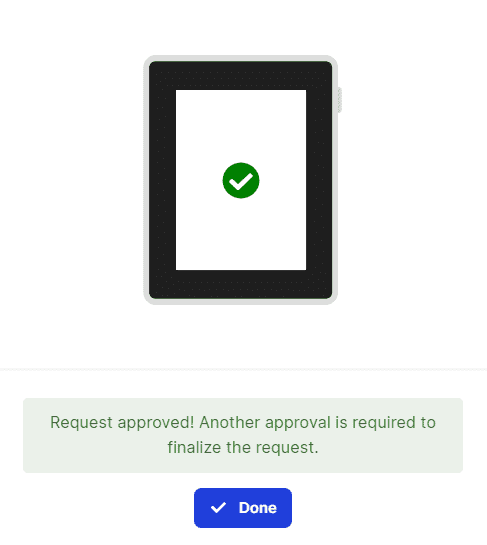
- Click Done .
Results
A Create Whitelist request is submitted to all Administrators for approval.
What's next?
The whitelist will be created once the request is approved by the number of Administrators defined in the admin rule. Once approved, the whitelist can be added to the transaction or Smart Contract rules of accounts. For more information, see Workspace administration.
Extra functionalities
Whitelist a destination tag for an XRP address
You can now add a destination for an XRP address in a whitelist.
- Complete step 1 of this article
- Select the XRP blockchain from the Currency drop-down list.
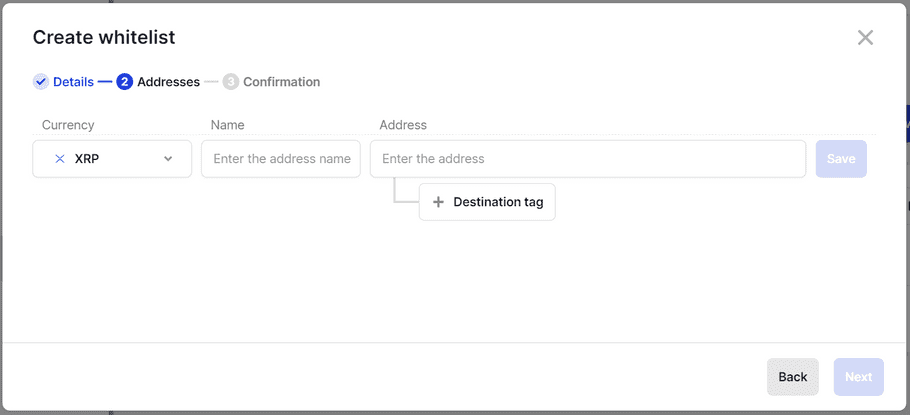
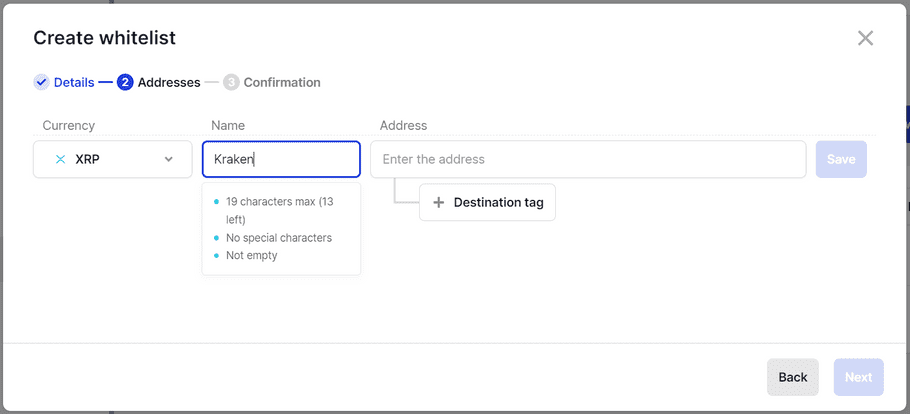
- Enter the Name of the address. It must be less than 19 characters long and must not contain special characters.
- Enter the public Address , then add up to three destination tags for the adress. The destination tags are optional.
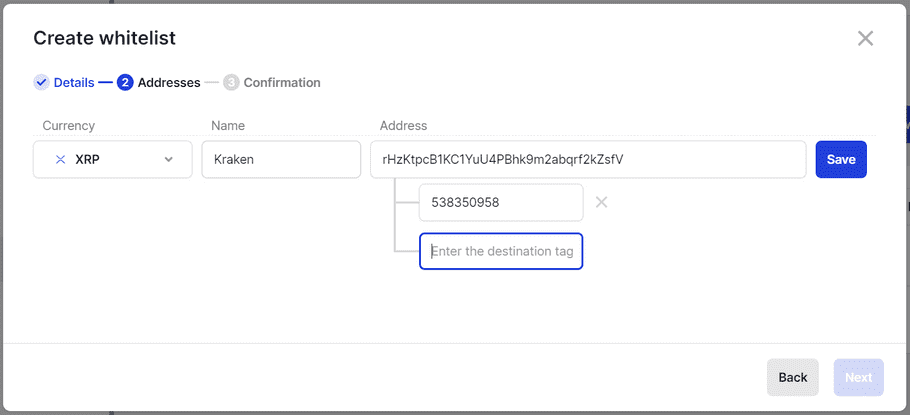
Click the Save button to add the address and destination tags (if you have added some) to the list.
- Repeat the above steps for each address you want to add.
- Click Next and refer to step three: Confirm the whitelist creation on your device at the beginning of the article to confirm the creation of the whitelist.